


What’s the Best Way to Paint Over Dark Colours Without Endless Coats?
What’s the Best Way to Paint Over Dark Colours
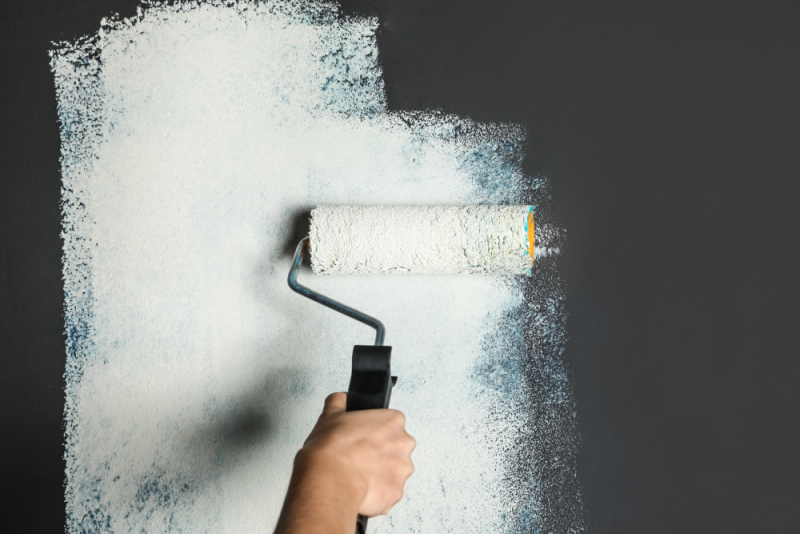
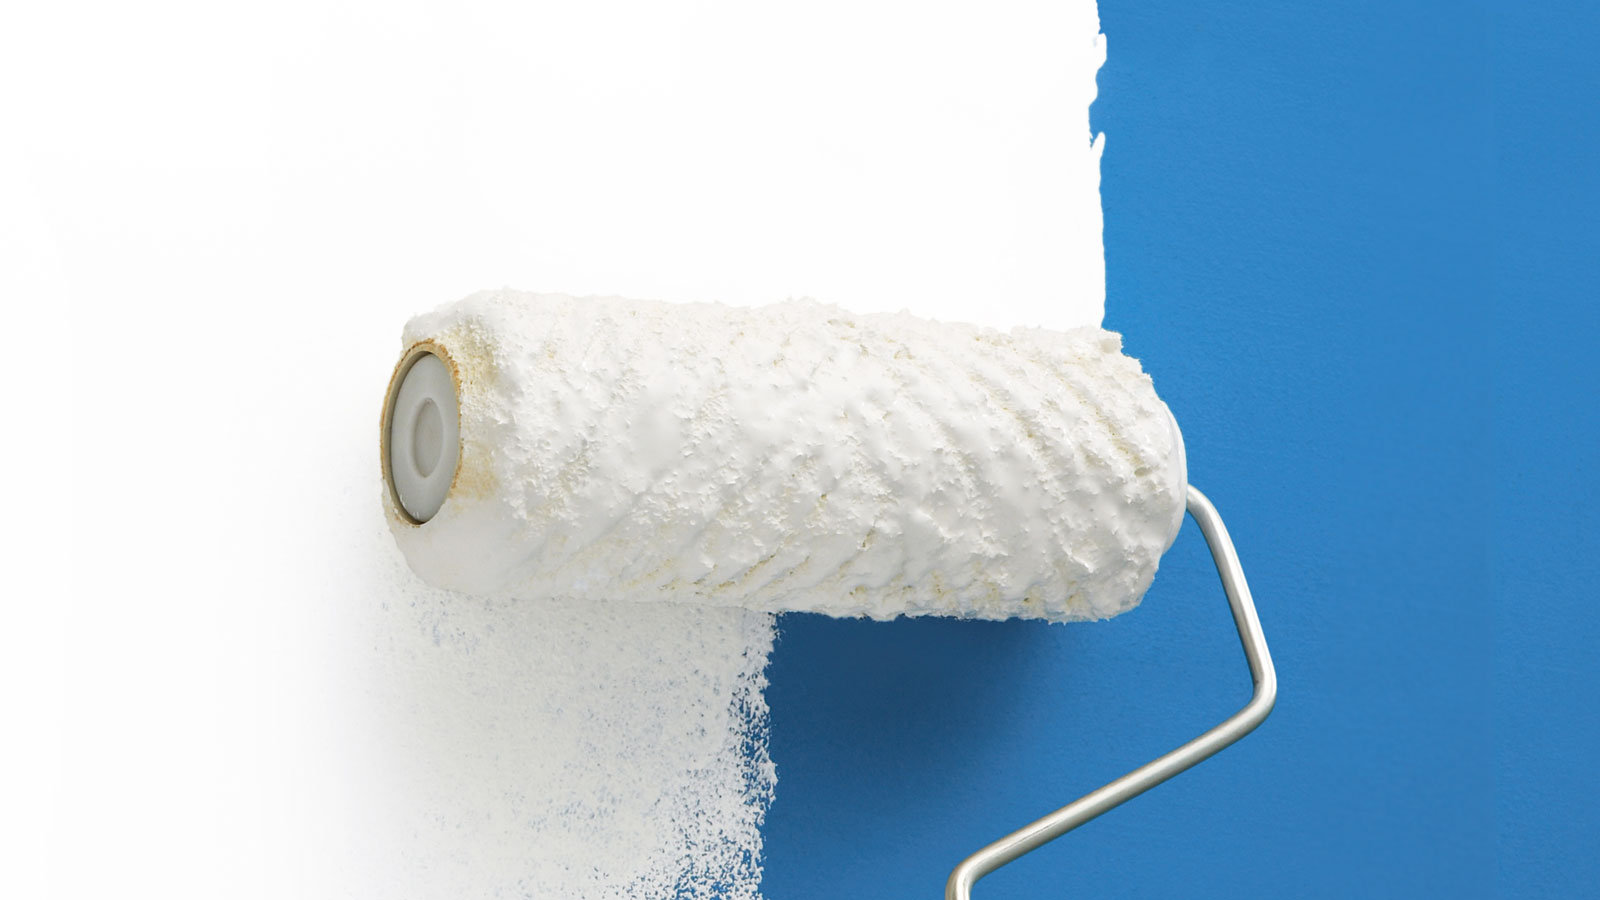
Painting over a dark wall can feel like trying to cover a tattoo with a single swipe of concealer — frustrating, patchy, and surprisingly time-consuming. Whether you're going from navy blue to soft white or charcoal grey to blush pink, the process needs a bit of planning to get a smooth, consistent finish.
The good news? With the right prep, tools, and techniques, you can cover dark colours efficiently — and avoid wasting time and paint in the process.
Why Is Painting Over Dark Colours Tricky?
Dark colours like navy blue, burgundy, charcoal, or forest green are made with heavy pigment loads. These pigments can be difficult to block out—especially when you're trying to paint over them with light neutrals or pastels. If you rush the job, you may end up applying unnecessary coats, or worse, still see hints of the original shade after everything’s dried.
Common challenges include:
- Bleed-through of the original colour, especially at the edges and corners
- Uneven finish, caused by poor coverage or low-opacity paint
- Visible roller marks due to inconsistent application
- Sheen differences when light colours are placed over gloss or satin finishes
Understanding why it happens helps you plan the right strategy and product selection to avoid disappointment.
Step 1: Start with the Right Prep
Preparation is the foundation of any successful painting project—and it's especially important when you're covering up a bold or dark colour. Taking time here will save you coats and stress later.
How to prep for best results:
- Clean the surface thoroughly
Use sugar soap or a mild detergent solution to remove dust, grease, and residue. Kitchen and hallway walls often trap grime that can interfere with adhesion. - Lightly sand the surface
Sanding dulls glossy or satin sheens, giving the new paint something to “grip.” This is especially important if the dark paint is oil-based or has a semi-gloss finish. - Repair imperfections
Fill in any cracks, dents, or holes that the previous colour may have disguised. Use a quality filler and allow it to dry completely before sanding smooth. - Remove dust and debris
Wipe down the surface with a microfibre cloth or a damp sponge to get rid of any remaining dust. Don’t paint over a dusty surface—it’ll ruin the finish.
Taking the extra 20–30 minutes to prep properly can make the difference between needing two coats or five.

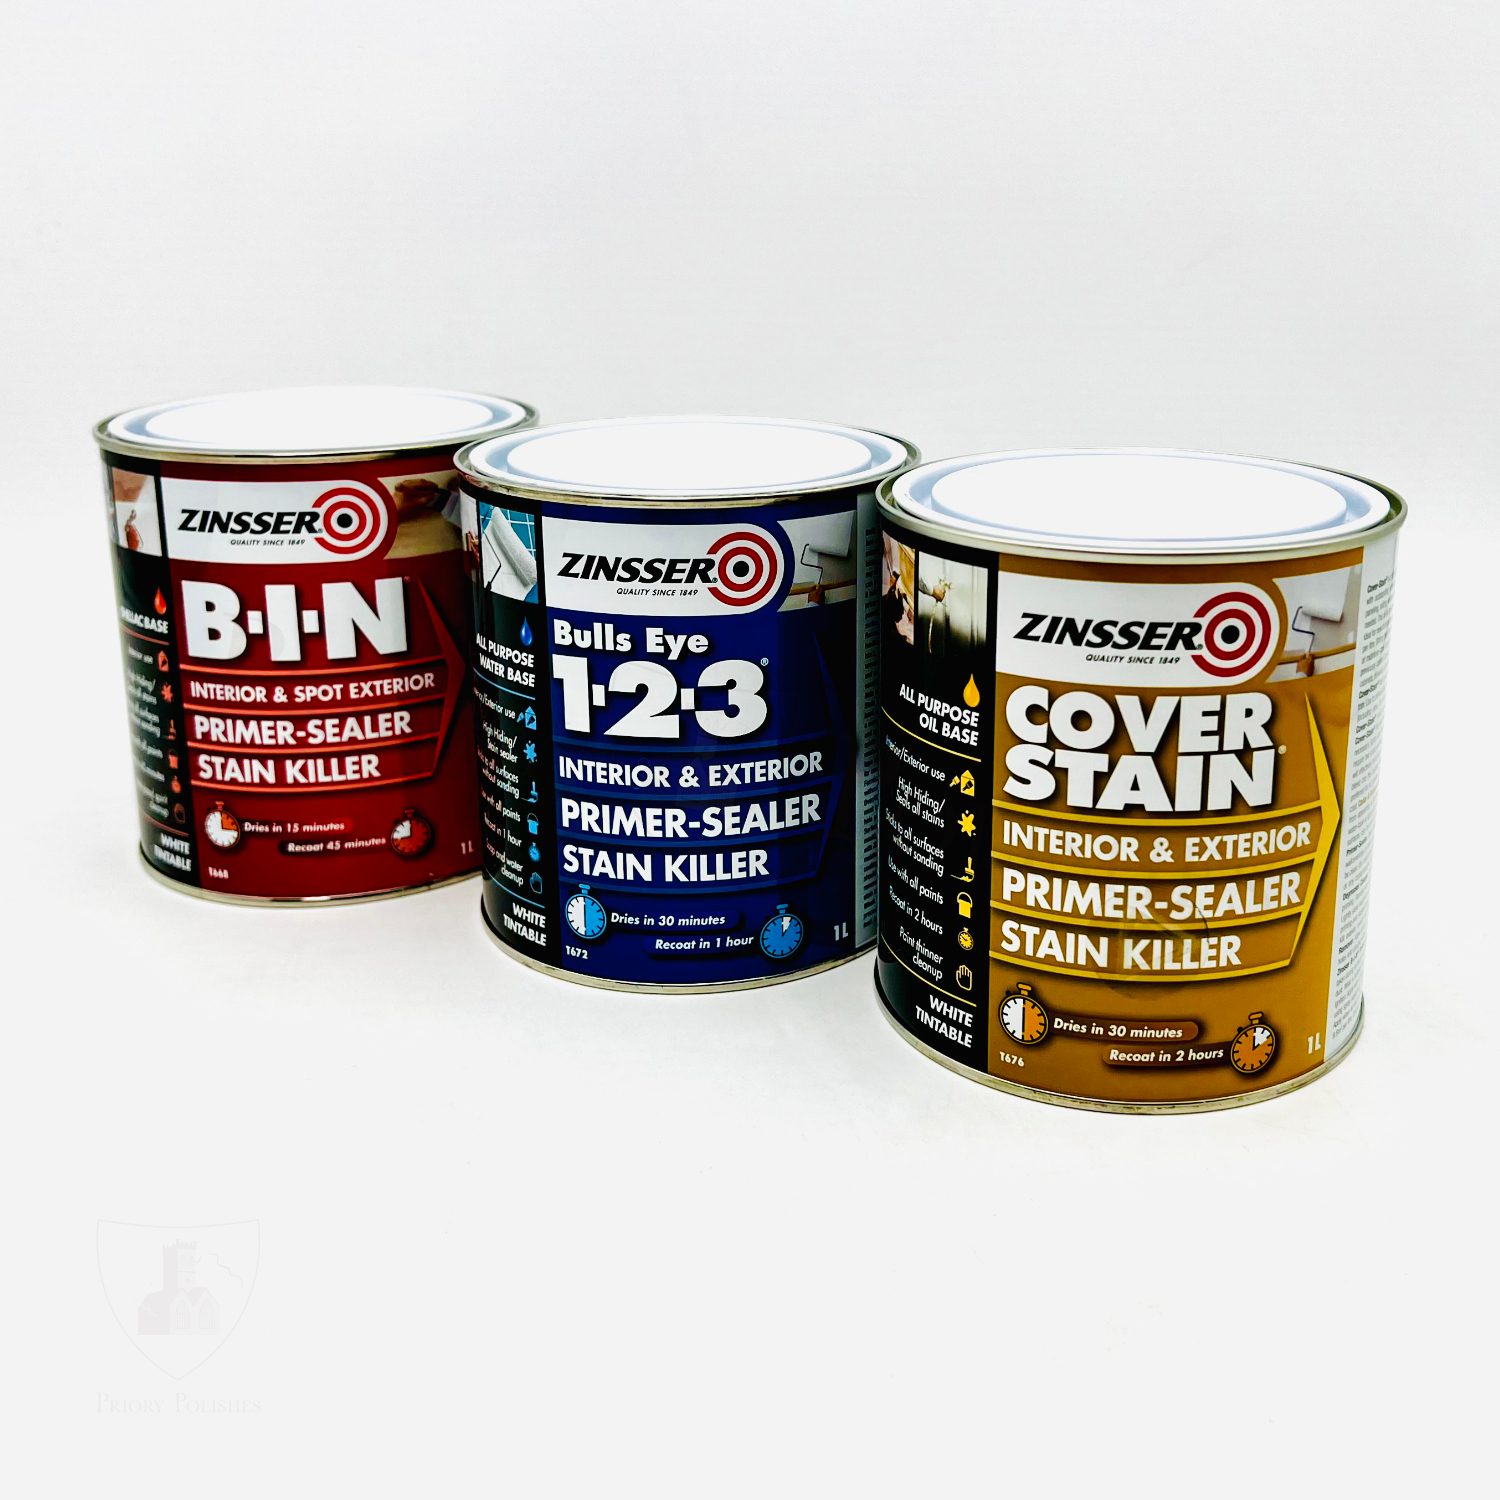
Step 2: Don’t Skip the Primer
Primer is a must when painting over dark colours. It acts as a neutralising layer that hides the existing colour and helps your topcoat go on more evenly and effectively. It also improves adhesion and durability, ensuring the new paint sticks well and wears better over time.
Top tips when priming:
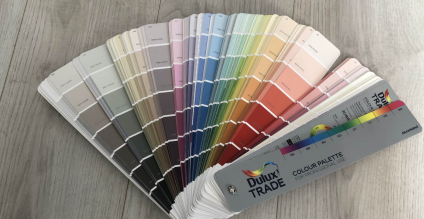
Choose the right primer colour
- White primer is ideal for bright colours or whites.
- Grey-tinted primer helps block out deep reds, blues, and greens more effectively.
- Tinted primers can be matched to your new colour to speed up the process.
Go for stain-blocking or high-hide primers
These are specifically designed to cover dark or marked walls and prevent bleed-through.
Use a separate primer—not “paint & primer in one”
While convenient, “2-in-1” products usually aren’t as effective when covering high-contrast colours.
Step 3: Choose a High-Quality, High-Hiding Paint
Once your primer is dry, it’s time to apply your chosen topcoat. This is where paint quality really matters. Using a high-hiding, high-opacity paint can reduce the number of coats you’ll need—and improve the overall finish.
What to look for in a good covering paint:
- Premium quality brands
Dulux Trade, Crown Clean Extreme, and Johnstone’s are great choices that offer excellent pigment strength and coverage. - One-coat or high-opacity formulas
Look for phrases like “ultra-cover,” “maximum opacity,” or “high hiding power” on the label. - Low-sheen finishes
Matt or eggshell are generally better at hiding any imperfections left behind by the previous paint colour. - Paints with built-in stain-blockers or self-priming properties
These aren’t substitutes for proper priming, but they can offer added protection and coverage for stubborn areas.
Step 4: Apply the Paint Properly for a High Quality Finish
Technique matters. Even the best paint will struggle to perform well if it’s not applied correctly. To get a consistent and professional finish, pay attention to how you’re using your roller and brush. This will help avoiding unnecessary costs of having to repaint areas over and over again.
Application tips for success:
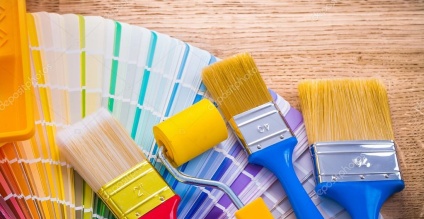
- Use the right roller - A medium-pile roller is ideal for most walls. It holds a good amount of paint and helps apply it evenly across the surface.
- Work in a “W” or zig-zag pattern - This spreads paint evenly before going over it in smooth, overlapping strokes. It reduces roller marks and helps distribute pigment.
- Use long, even strokes - Avoid stopping and starting halfway across a wall. Keep your motion fluid and controlled.
- Cut in carefully - Use a good-quality angled brush for cutting in around trim, ceilings, and corners. Be consistent and neat—it sets the tone for the rest of the wall.
- Let coats dry fully before applying another - Rushing between coats can cause the new layer to lift or smear the previous one. Follow the manufacturer’s drying time recommendations.
Step 5: Inspect Your Finish — and Know When to Stop
Once you’ve applied at least two coats, allow the wall to dry thoroughly and check your results under different lighting conditions.
Things to check for:
- Uniform colour — no patches of the old colour showing through
- Smooth finish — no roller marks or brush strokes
- Even sheen — consistent reflection or flatness depending on your finish
If your wall looks solid and clean after two coats, you’ve likely done enough. In rare cases (especially when moving from very dark to very light), a third coat may be needed—but if you’ve followed the steps above, that should be the exception, not the rule.
Final Thoughts: Beat the Bleed with Good Prep and Paint
What’s the Best Way to Paint Over Dark Colours
Covering dark colours doesn’t have to feel like a losing battle. The secret isn’t necessarily in how many coats you apply—it’s in how you prep, prime, and paint. Investing a little more time in those early steps will save you stress later, reduce how much paint you use, and help you achieve a smooth, even finish that lasts.
So next time you're staring down a wall in midnight blue or burnt auburn, don’t panic. Just plan—and paint—smart.
Related Articles
Beginner’s Guide to Colour Matching: Tricks from Artists and Crafters
Choosing the right colour is one thing—matching it perfectly is another. Whether you're repainting a room, upcycling old furniture, or picking out accessories to complement a feature wall, colour matching is a skill that anyone can master with the right guidance.
Which Tools Give the Best Results: Brushes, Rollers or Sprayers?
When you're planning a painting project—whether it's refreshing a living room, upcycling a piece of furniture, or applying protective coatings to a commercial building—choosing the right application tool can dramatically affect the final result.