


Prepping to Paint: A Beginner’s Checklist for Flawless Paint Results
A Beginner’s Checklist for Flawless Paint Results
Whether you’re giving your walls a fresh coat of colour or starting your very first DIY paint project, one golden rule always applies: success lies in the prep work. Rushing into painting without preparing your space properly often leads to streaky finishes, uneven coverage, or paint peeling down the road.
At Colour Supplies, we believe in making every stage of your decorating journey simple, accessible, and effective. That’s why we’ve put together this in-depth Beginner’s Checklist for Flawless Paint Results— to guide you through the preparation phase and help you choose the right products along the way.
1. Plan Your Project
Before heading to the paint aisle, take time to visualise your end goal. Consider:
-
Room function – Bright, bold colours may energise a space, while soft, muted tones can promote calm and relaxation.
-
Lighting conditions – Natural and artificial light affect how colours look. Test paint samples on different walls and view them at various times of day.
-
Paint type – Interior emulsions are great for walls and ceilings, while satin and gloss paints suit woodwork. Kitchens and bathrooms often benefit from moisture-resistant or mould-inhibiting formulas.
You’ll also want to calculate how much paint you need. Overbuying can be wasteful, but underestimating means risking an inconsistent finish if you run out mid-way.
Planning saves time, reduces stress, and ensures you end up with a space you truly love.
2. Clear and Clean the Space
This is one of the most skipped steps — but one of the most essential. Paint sticks best to clean, smooth, dry surfaces.
Here’s what to do:
-
Remove furniture or move it to the centre of the room and cover with protective sheeting.
-
Dust and wipe down surfaces — especially at the tops of walls, corners, and skirting boards where cobwebs can gather.
-
Wash walls with a diluted sugar soap solution to remove grease, smoke residue, and general grime. Rinse and allow to dry fully.
-
Check for mould, especially in bathrooms or behind furniture. Use a mould remover and allow to dry thoroughly.
🎯 Why it matters: Even invisible residues can cause paint to bubble, peel, or fail to adhere evenly.
3. Repair and Prime
No wall is perfect. Cracks, nail holes, and previous paint mishaps are common — but thankfully, easy to fix with the right materials.
Repair Steps:
-
Use a filler to patch cracks and dents.
-
Once dry, sand down the area until it’s smooth.
-
If you’re painting over a dark colour or porous surface, apply a primer or undercoat. This evens out the surface and improves adhesion.
Certain surfaces like bare plaster, wood, or glossy paint require specific primers for best results. If you skip this step, your topcoat may absorb unevenly or begin to peel prematurely.
⏱️ Take your time here. The smoother and more consistent your surface, the better your final coat will look.
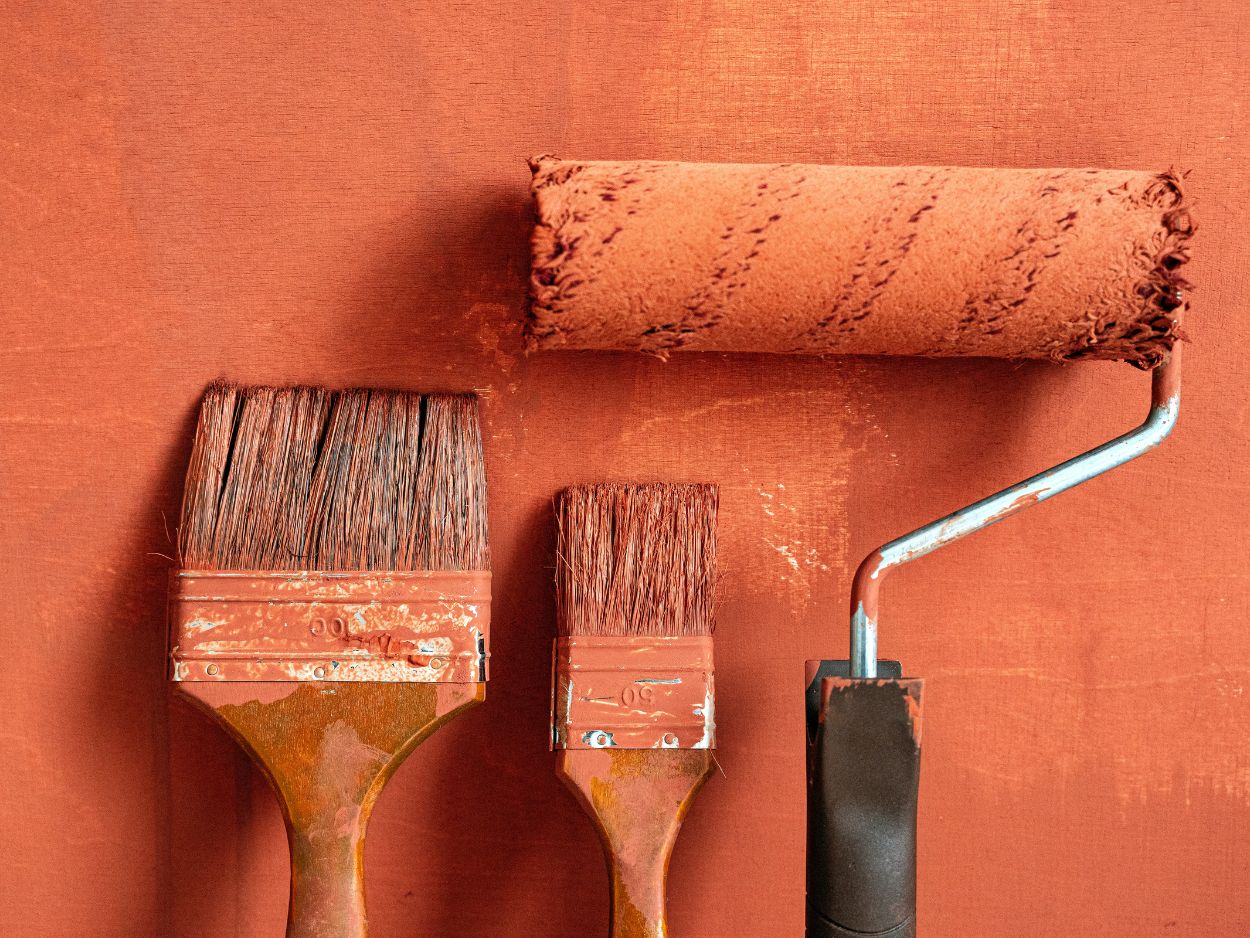
4. Gather the Right Painting Tools
Using the wrong brush or roller can result in streaks, splatters, or hours of unnecessary effort. Invest in quality tools suited for your surface type.
Essential Painting Kit:
- Rollers with the right nap: shorter for smooth walls, longer for textured surfaces.
-
Angled brushes for cutting-in around corners, ceilings, and trims.
-
Paint tray with liners to keep things tidy and reduce waste.
-
Extension pole to help with ceilings and tall walls — saves your back too!
-
Stirrer for mixing paint (especially if it’s been sitting).

5. Protect Floors, Fixtures, and Yourself
Even the neatest decorators make a mess sometimes — that’s why protection is a must.
Don’t forget to:
-
Cover floors with canvas drop cloths — they don’t slide like plastic sheeting.
-
Use painter’s tape to mask off window frames, skirting boards, and plug sockets.
-
Remove outlet covers or mask them carefully.
-
Wear protective clothing, especially when sanding or working overhead.

Final Touches Before Painting
Now that the room is clean, protected, and primed, you're almost ready to paint!
Final Prep Checklist:
-
Stir paint thoroughly to ensure colour consistency.
-
Paint a test patch in an inconspicuous spot.
-
Cut-in first — use a brush around edges, corners, and trims.
-
Roll paint in overlapping “W” or “M” motions to avoid streaks.
-
Work in sections, maintaining a wet edge to prevent lap marks.
Get Fully Equipped at Colour Supplies
Every tool mentioned here is available at www.coloursupplies.com or in your local store. Whether you need a single brush or a full decorating bundle, we stock trusted brands that deliver quality — at competitive prices.
Our knowledgeable team is always happy to offer advice, whether you're picking the perfect paint or wondering which filler suits your surface.
Wrap-Up: Prep Like a Pro
The real secret to a flawless paint job? It’s all in the prep. Taking the time to clean, repair, protect, and prime doesn’t just make the painting process easier — it guarantees better, longer-lasting results.
So before you dip that brush, grab your checklist and prep with confidence. With a little planning and the right tools from Colour Supplies, even first-time decorators can achieve professional-looking finishes.
Need help or advice? Visit Colour Supplies or drop into one of our stores — we're always happy to help you get your next DIY project off to a perfect start.
Related Articles

Heritage Paints from Dulux. Affordable luxury for your walls.
Inspired by a feeling, and memories, now you can bring together beautiful new looks for your home decor while keeping a sense of the history and luxury of a bygone era.
Why Is My Paint Not Sticking to the Wall — and How Do I Fix It?
There’s nothing more frustrating than putting time and effort into painting, only to see it peel, bubble, or slide right off the wall. If your paint isn’t sticking, you’re not alone — this is one of the most common DIY decorating issues. In this guide, we’ll walk you through why paint sometimes doesn’t adhere properly, how to fix it, and most importantly, how to prevent it happening again. Let’s get your walls looking as fresh and flawless as they should be!