


Guide to Perfectly Layered Paint
How Do You Layer Paint for a Professional-Looking Finish?
If you’ve ever admired the flawless finish of a professionally painted wall or furniture piece, you’ve likely wondered how they achieve that smooth, rich look. The answer isn’t always about expensive tools or fancy products — it often comes down to one key technique: layering paint correctly.
Layering paint is not just slapping on a few coats. It’s a deliberate process that builds depth, texture, and durability over time. In this guide, we’ll walk you through each stage of layering paint — from surface prep to finishing coats — so you can achieve a refined, lasting finish every time.
Step 1: Prep Like a Pro
Any good paint job begins with proper preparation — in fact, professionals often say that 80% of a successful finish is in the prep work.
Start by cleaning the surface thoroughly. For walls, use a mild sugar soap solution to remove grease and dirt. For wood or previously painted surfaces, sanding helps smooth out imperfections and gives the new paint something to grip. Fill any cracks, holes, or dents with a high-quality filler and sand smooth once dry.
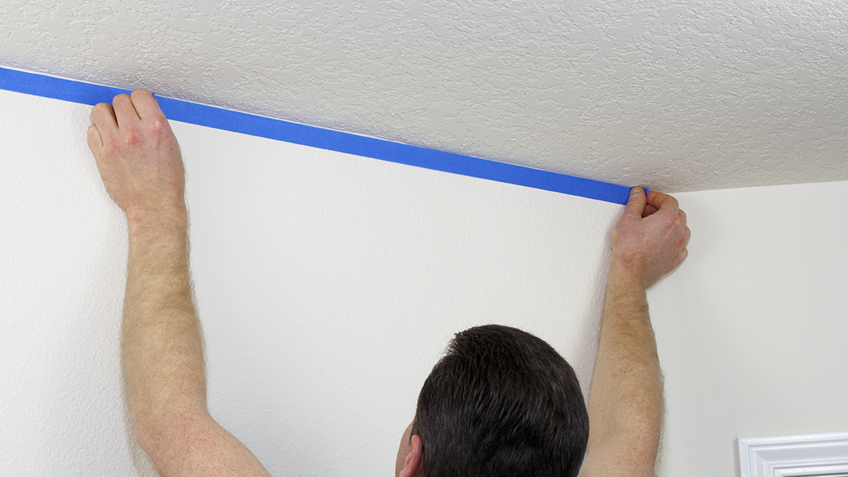
Don’t forget to mask off trims, sockets, and skirting boards with painter’s tape. Lay down dust sheets to protect your floors and furniture.
Step 2: Apply a Primer or Base Coat
Primer is your undercoat — and while it might feel like an unnecessary extra step, it can make a dramatic difference to the final result.
A primer helps seal porous surfaces like fresh plaster, wood, or MDF, preventing them from soaking up your topcoat unevenly. It also evens out colour differences when you're painting over dark or patchy walls. Some modern primers even include stain-blocking properties, perfect for kitchens or old walls with water marks.
Choose the right primer for your surface — there are specific formulations for wood, metal, masonry, and multi-surface use.
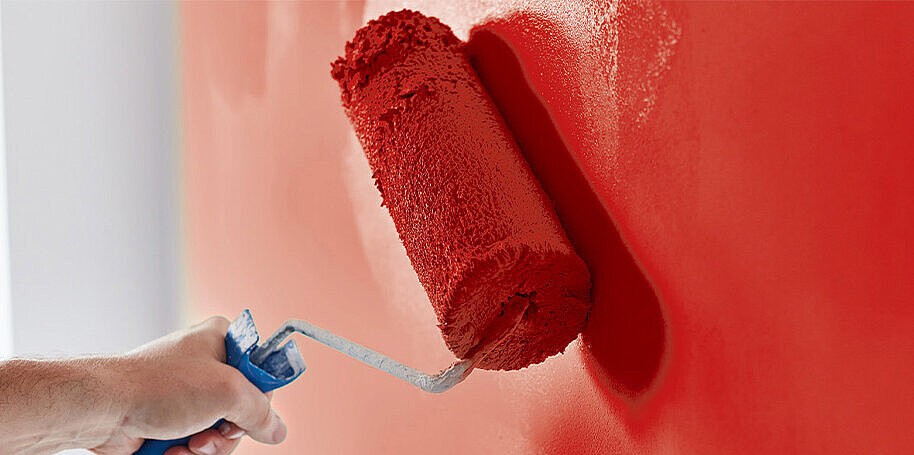
Step 3: First Coat — The Foundation Layer
The first colour coat sets the tone for everything that follows. It doesn’t need to be perfect — in fact, trying to get full coverage in a single pass can lead to thick, uneven strokes and a patchy finish once dry.
Use smooth, even strokes with a quality brush or roller suited to your paint type. For example, use synthetic brushes for water-based paints and natural bristles for oil-based paints. Cut in around edges and corners before moving to the large surfaces, and always work in small sections to maintain a wet edge.
Always stir your paint thoroughly before use — pigments can settle at the bottom of the tin, leading to uneven colour if you skip this step.
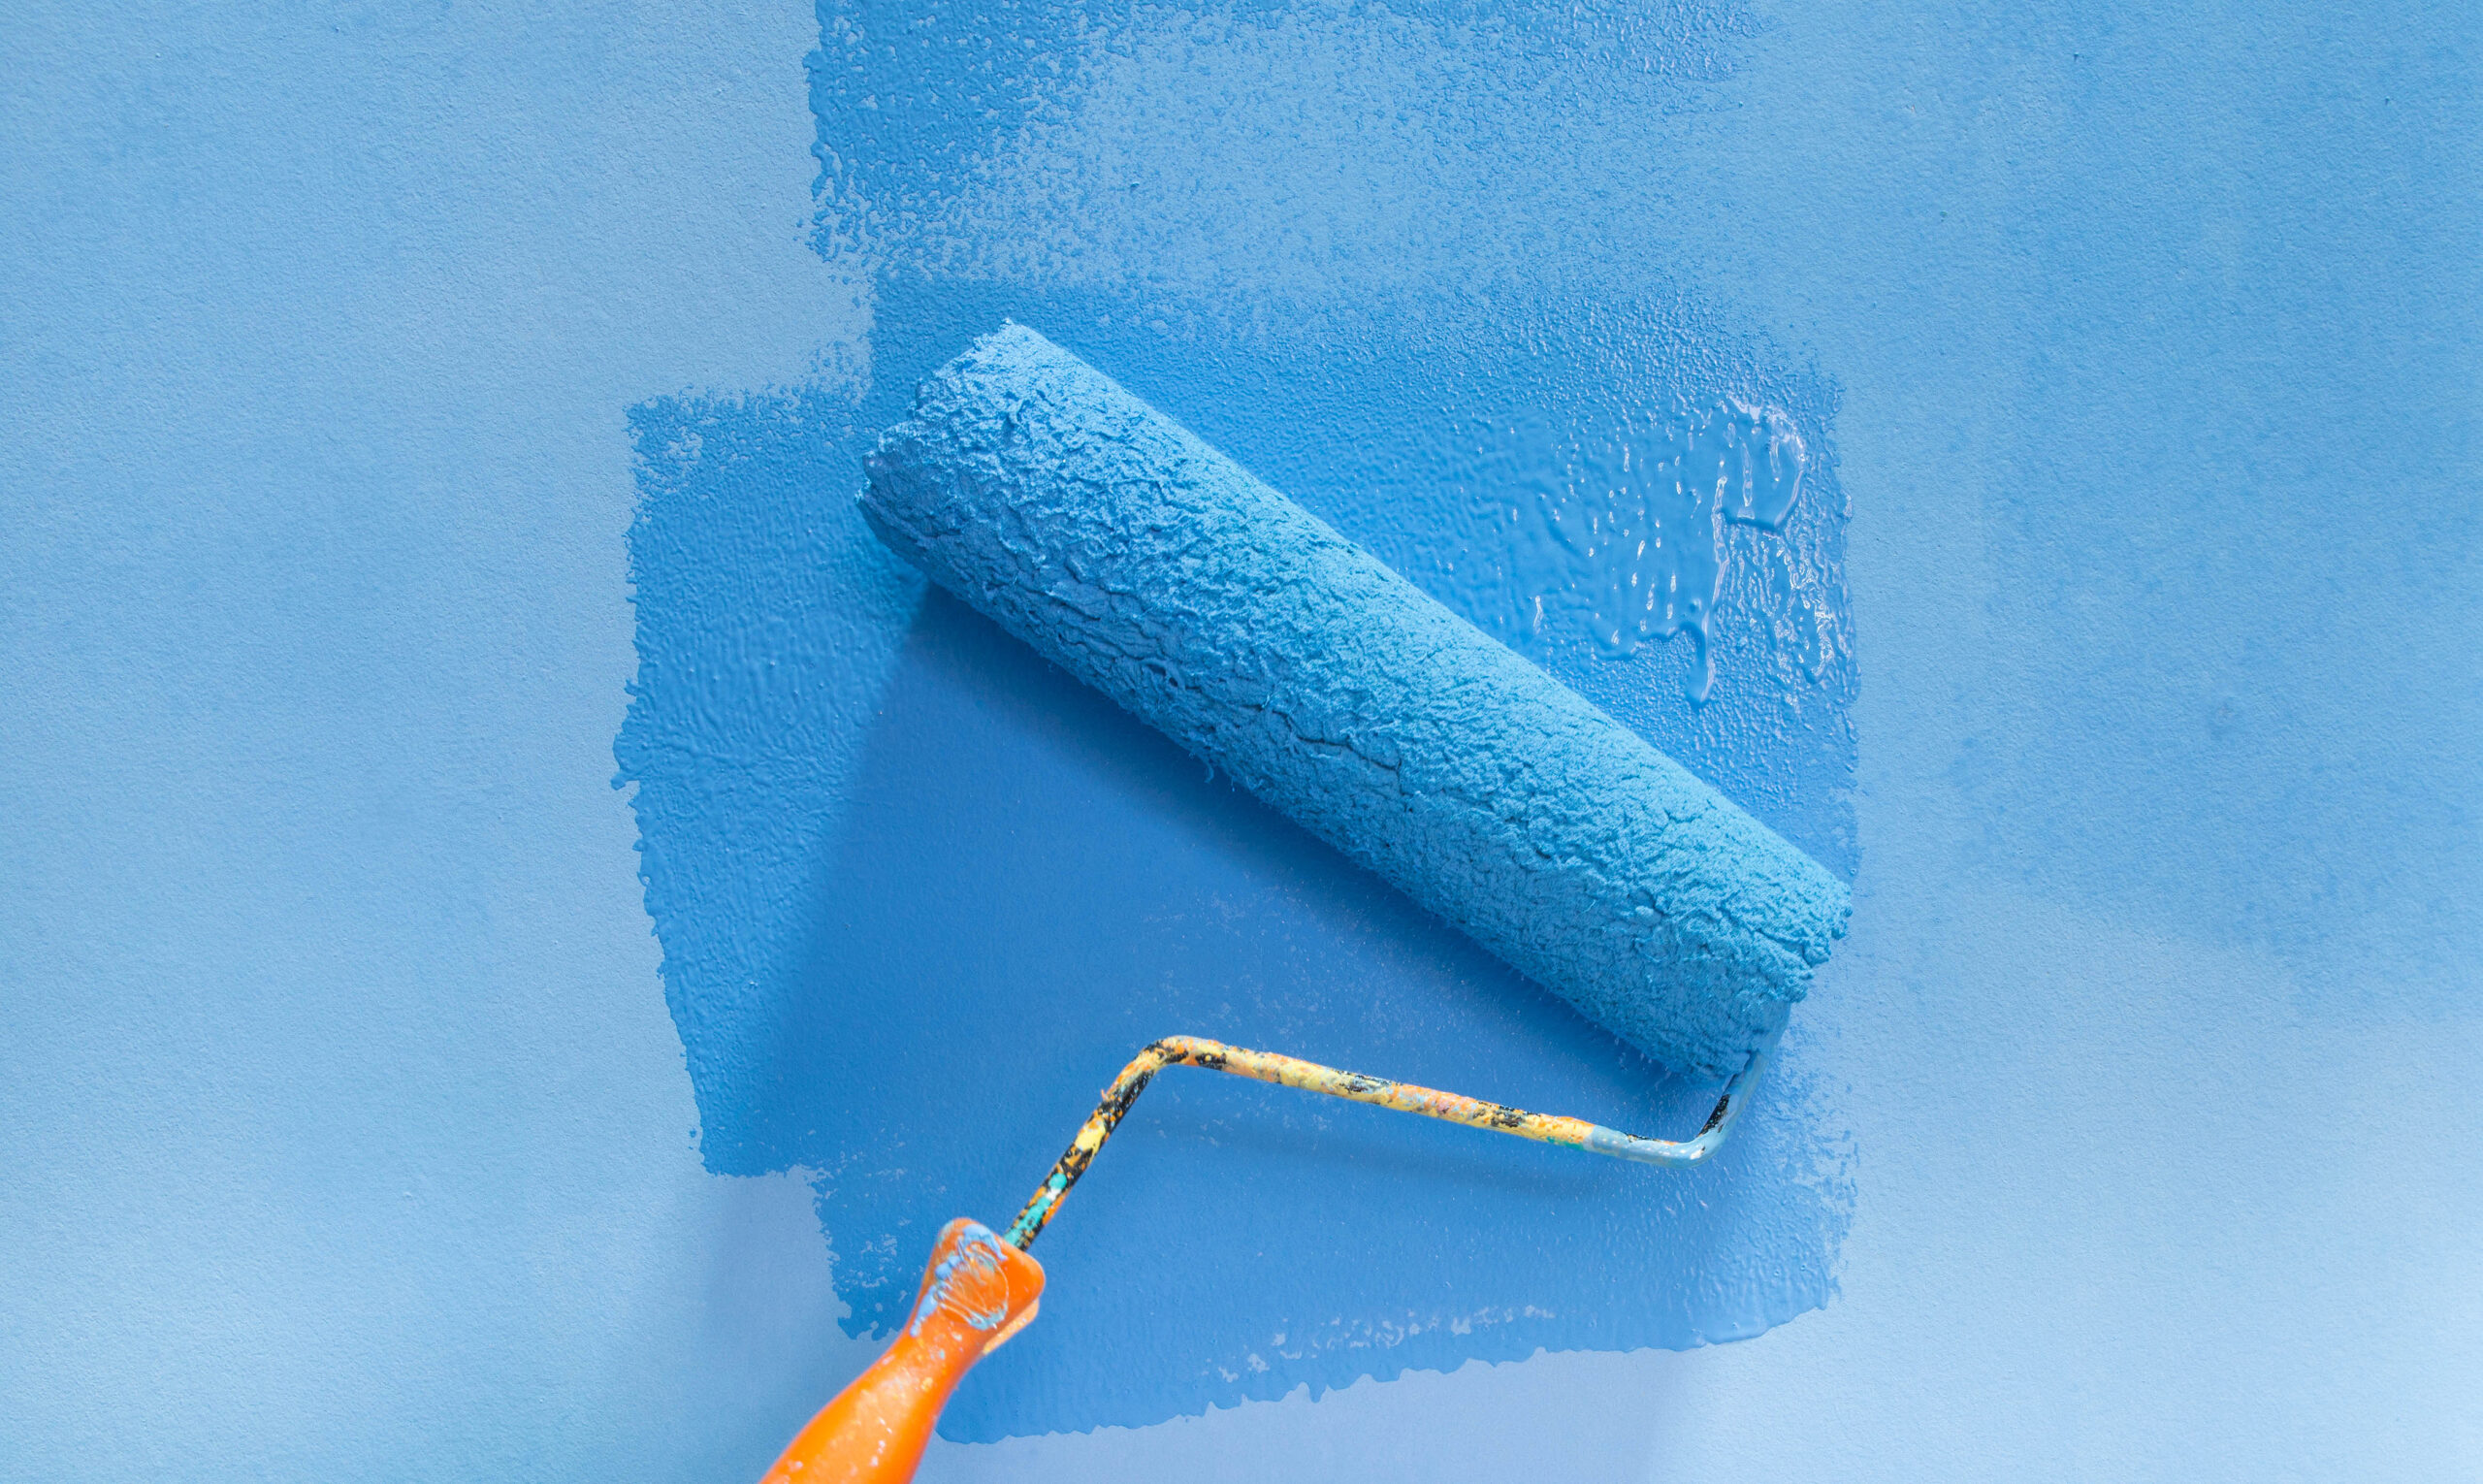
Step 4: Second Coat — Building Depth and Uniformity
This is the stage where the magic happens. Your second coat enhances the richness and true tone of the colour, eliminates streaks, and creates a uniform surface.
Allow the first coat to dry fully before applying your second — even if it feels touch-dry, it may not be cured underneath. Apply the second coat in the opposite direction (e.g. vertical if your first was horizontal). This cross-coating technique helps cover any roller or brush marks and ensures a more even texture.
Always check the tin — drying times vary by brand, humidity, and temperature. Rushing your second coat can cause peeling or an uneven sheen.
For feature walls, deeper colours, or finishes like Little Greene Intelligent Matt or Dulux Diamond, a second coat is essential to achieve that luxurious, velvety finish.
Final Tip: Let Paint Cure — Not Just Dry
Paint that’s “dry to the touch” isn’t the same as fully cured. While most paints dry within a few hours, curing can take anywhere from 7 to 30 days depending on the brand and finish.
Avoid cleaning, scrubbing, or hanging heavy items on freshly painted walls too soon. Let furniture sit undisturbed for at least a few days before regular use.
Patience at this stage can prevent dents, marks, or peeling — and will keep your hard work looking flawless for longer.

How Do You Layer Paint for a Professional-Looking Finish Conclusion
How Do You Layer Paint for a Professional-Looking Finish
Layering paint is more than a chore — it’s a craft. By understanding each stage and taking your time, you’ll achieve a finish that not only looks great but lasts longer and feels more professional. Whether you’re refreshing a tired room or transforming old furniture, mastering paint layering is a game-changer. Check out our incredible range of paints for all sorts of applications!
Related Articles
Should I Choose Water or Oil based Paints? Which Is Right for Your Project
Should I Choose Water or Oil based Paints? The decision between acrylic and oil-based paints can impact everything from how your project looks to how long it lasts.
Bring nature inside with Naturewall
If you love the look of wood and natural materials indoors, and want the benefits of thermal insulation and sound proofing as well, then we have a great product to offer you. It's easy to install, and suitable for bathrooms too!